
Creating online learning materials, whether for a course, workshop, or training program, can be one of the most rewarding experiences for an educator. But it can also be time-consuming, complex, and at times, overwhelming. Between managing lesson plans, learning management systems, recording technology, and engagement strategies, it’s easy to fall into the trap of over complication.
The good news? Simplifying your workflow doesn’t mean compromising quality. In fact, streamlining your process often makes your content more engaging and authentic. Here are ten practical, educator-focused strategies to make everything easier while keeping the learning experience dynamic, professional, and real.
1. Create a Conference and Record Everything
One of the most efficient ways to build a large amount of quality educational content is to host a mini-conference or professional learning day centered around your key topics. Instead of creating every video, lecture, or resource separately, bring together teachers, experts, or guest speakers to present short sessions on each area of focus and record everything.
You’ll not only capture a wealth of authentic, expert-led material but also create an archive of reusable resources that can serve as your institution’s knowledge library. These recordings can later be edited into short modules, highlight reels, or training segments that can be used across different courses and cohorts.
Example: Imagine you’re building a teacher training course on “Innovative Assessment Strategies.” You could host a one-day online conference with five sessions: formative feedback, digital tools for grading, authentic assessment design, peer review, and reflection strategies. Recording those sessions gives you five standalone training videos, dozens of shareable clips, and potentially hours of content to reuse for future professional learning.
By capturing everything in one coordinated effort, you multiply your results with minimal setup repetition.
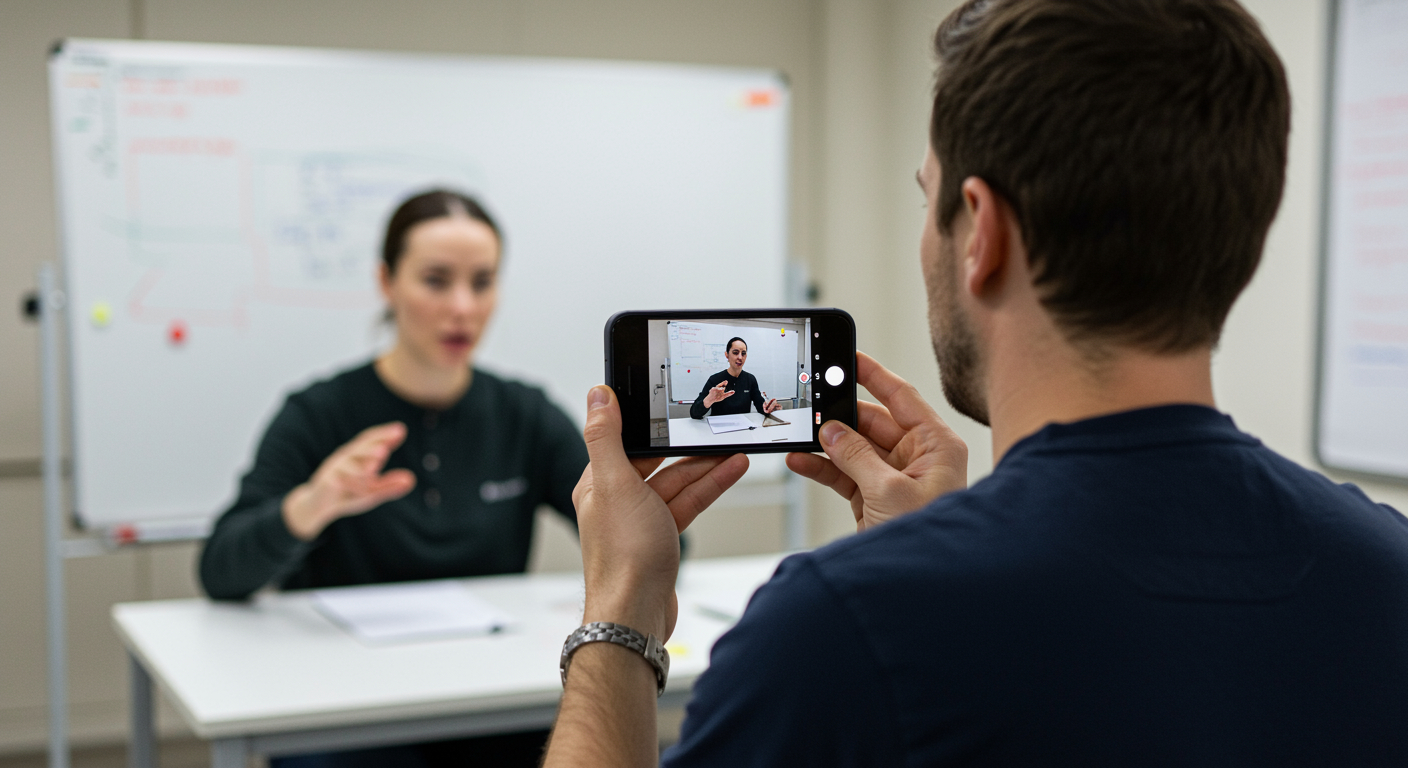
2. Set Up a Quick Talking-Head Video Space
One of the biggest time sinks for educators producing content is setup time. Lights, cameras, tripods, mics – all these little steps can add up to an hour before you even press “record.”
The solution? Create a dedicated video corner that’s always ready to go. Keep it simple, a clean backdrop, a decent microphone, and consistent lighting (natural or ring light). Having this space ready allows you to record spontaneous updates, clarifications, student messages, or micro-lessons without the usual setup hassle.
Example: You could have a small desk setup with your webcam mounted permanently, a USB mic like a Blue Yeti, and a small soft light. When you need to record a 2-minute “module overview” or respond to student questions, you can do it instantly. The easier it is to start, the more likely you’ll do it and consistency is key in building connection with your learners.
3. Use Software That’s Less Complicated
Educators often overcomplicate production by using professional-grade software that takes weeks to learn. While those tools have power, they can drain your time and energy when your real goal is teaching, not video editing.
Choose software that’s intuitive, quick, and purpose-built for teaching. Tools like Camtasia, Loom, Descript, or ScreenPal (formerly Screencast-O-Matic) allow you to record, edit, and share in minutes.
Example: Instead of manually editing every “um” and “ah” in Adobe Premiere, record in Descript, which automatically transcribes your speech and lets you delete mistakes by removing words from the text. It’s like editing a Word document – but for video.
Using simpler tools allows you to focus on storytelling and learning design rather than technicalities.
4. Use Equipment You Already Have and Know How to Use
There’s a misconception that high-quality education videos require professional cameras, lighting rigs, or studio setups. In reality, authenticity and clarity matter far more than cinematic polish.
Use the equipment you already have and feel comfortable with. A modern smartphone can shoot HD video with great audio if paired with an affordable lapel mic. Your laptop webcam can work perfectly for most talking-head lessons.
Example: A teacher recording a quick explainer on “How to Submit Assignments in Moodle” can create an engaging, crystal-clear video using their phone mounted on a tripod, a $30 clip-on microphone, and a window for natural light.
What students want most is a sense of presence and clarity, that’s what makes learning feel human.
5. Be Creative to Keep Videos Interesting
Educational videos can be informative yet visually dull if they rely solely on a talking head or PowerPoint slides. You don’t need expensive editing to make your videos more engaging – just a bit of creativity and variety.
Consider mixing in:
- Cutaways to demonstrations or real-life examples
- Short animations or visual metaphors
- Text overlays and annotations for emphasis
- Occasional humor or storytelling to humanize the topic
Example: When explaining the concept of “feedback loops” in instructional design, you might start with a story about a student improving over time, then cut to a diagram, then return to you summarizing the principle. This rhythm keeps attention and reinforces learning through different modalities.
The goal is to stimulate curiosity, not overwhelm with production.
6. Use Quality Talent – and Run a Trial Day
When producing video lessons across multiple educators, one key factor determines success: on-screen comfort. Not everyone loves being in front of a camera – and that’s completely fine.
Organize a trial video day to identify who feels most natural presenting on video. Those educators can take the lead in front of the camera, while others contribute behind the scenes with visuals, scripting, or storyboarding.
Example: A vocational college might have 10 trainers who all want to contribute to online course creation. After a short filming day, two emerge as confident presenters, while others prefer to narrate over slides or conduct interviews. This approach ensures you match roles to strengths, which improves quality and efficiency.
When presenters are comfortable, students feel it – and learning becomes more engaging.
7. Use Interview or Documentary-Style Videos
One of the easiest and most effective ways to produce authentic educational content is through interview-style videos. This format removes the pressure of memorizing scripts and makes lessons feel conversational and real.
Pair one educator as an interviewer and another as the expert. Discuss key topics naturally – as if you were explaining it to a colleague or student one-on-one.
Example: In a nursing course, record a short 10-minute conversation between an instructor and a hospital practitioner about real-world patient care scenarios. The discussion will flow naturally, and students gain insights that feel grounded in practice.
This style is easier to produce, requires minimal editing, and provides genuine educational depth.
8. Re-purpose Everything
Every video or lesson you create has multiple potential uses. Instead of letting content sit in one place, repackage and reuse it in creative ways.
A single recorded lecture can become:
- Short video clips for social media or weekly announcements
- A podcast episode for students to review while commuting
- A written summary or blog post
- Interactive quiz questions based on key points
- A highlight reel for professional development showcases
Example: After recording a 30-minute session on “Designing Assessments in Moodle,” you might extract five 2-minute clips – one for each key principle. Those short clips can serve as quick reference videos for other courses or even for marketing your training.
Re-purposing multiplies the reach of your content and maximizes the value of your effort.
9. Live Is OK
Many educators shy away from live sessions because they fear technical hiccups or imperfections. But in truth, live sessions are among the most engaging and authentic forms of online teaching.
Live teaching encourages immediate interaction, accountability, and community. Students can ask questions, share experiences, and feel part of something happening in real time.
Example: Schedule a weekly 30-minute “Live Review” at the end of each module. Students can join to ask questions about the week’s content or discuss real-world applications. Record the session and upload it for others to review later.
Don’t stress about being perfect. The occasional glitch or pause actually humanizes you – and that’s something students appreciate in an online world that can feel impersonal.
10. Just Do It – and Experiment
The final – and perhaps most important – suggestion is simple: start creating. Don’t wait until you have the perfect camera, the perfect plan, or the perfect delivery. Learning to produce educational content is like teaching itself – you get better through practice.
Try small experiments: record a 2-minute video explaining a tricky concept, a reflective journal entry, or a course welcome message. Ask your students for feedback. Use what works and discard what doesn’t.
Example: An educator who records one short “lesson recap” video per week will, by the end of a semester, have a full video library and an improved on-camera presence – all through small, consistent action.
Over-preparation often leads to delay. Iteration leads to mastery.
As educators, our goal is to connect knowledge with people – not to get lost in the technical process of production. By simplifying your workflow, embracing creativity, and focusing on connection over perfection, you’ll produce more meaningful learning experiences with less stress.
Real learning happens when teachers are free to teach – and real engagement happens when students feel like they’re learning from a person, not a production.
So keep it simple, stay authentic, and most importantly – keep creating.